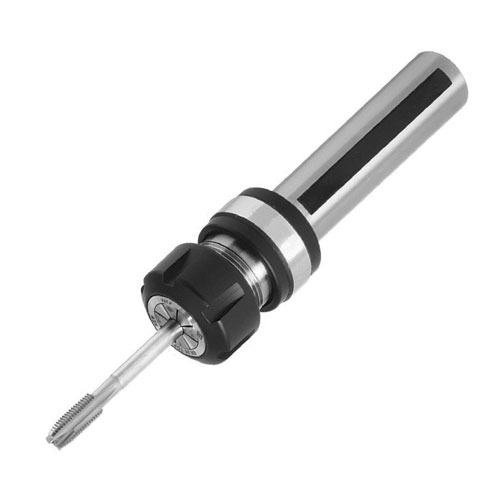
Thread gauges play a crucial role in manufacturing. They are used for inspecting production instruments. They can intimidate and confuse people who aren’t familiar with their design and purpose. The ramifications of errors when using these gauges are extensive. They can lead to the recurrent need for gauge replacements or incorrect judgments. That will increase inefficiencies in your manufacturing plant, thereby reducing your productivity. To gain maximally from the gauges, avoiding mistakes while using them is inevitable. Listed here are tips for avoiding costly mistakes and maximizing the benefits of your gauges.
Using Incomplete or Wrong Thread Size Specifications
There is a standard for determining the thread sizes of every piece of equipment. The universal standards are contained in publications such as ASME/ANSI B1.2 or B1.16M. The specifications indicated in these peripherals dictate the category of standard thread size. That allows users to understand the available thread sizes and to opt for their preference. For instance, if your male thread is indicated 1 3/16-18 UNEF – 3A, you will need a 3A class ring gauge. The most common mistake many users make in such cases is buying the 3B ring gauge, thinking its mating gauge is of the opposite class.
Equally, if your print indicates ¼-20 UNC – 2B, don’t attempt using either a ¼-20 UNC – 3B or ¼-20 UNC – 2A gauge. That is because the pitch diameter of the members is incorrect. Forcing to use incompatible threads will destroy the machine parts. That will result in costly replacements, which will lower your profit margins. Hence, refrain from purchasing thread ring gauges until you know the right size for your components. It is better to seek expert services in getting the right measurements than to use the wrong thread specifications.
Using the Wrong Thread Gauge Type
GO or NO-GO plugs and thread rings are the simplest devices to use in metrology. Despite their capability in verifying multiple facets of a thread’s form and size, they have several limitations. For instance, it is time-consuming to count the turns to determine the instrument’s depth. That is a setback for the users because in manufacturing saving time, especially during maintenance or part replacements is crucial. The mistake most users make is using the thread gauge for a different purpose.
Let’s use an example of measuring a thread’s depth. When measuring your thread in full length, ensure the GO member has the correct reach. According to the standards in professional publications, the NO-GO member is supposed to make two and a half or three turns. If your thread only reaches two turns deep it is impossible to know if the part is acceptable. That is the inconvenience of using the wrong thread type. You can easily deem acceptable parts unacceptable due to inaccurate measurements.
The Use of Wrong Material or Gauge Style
The style and material of the UNEF thread gages should guide your choices when buying them. Remember, these devices are expensive making their durability a vital aspect. That is because you will get losses by buying this component frequently. Hence, check the material of the instruments you intend to inspect before selecting the gauge’s material or style. If the component’s material is very hard, don’t buy the standard steel gauges because they will wear out quickly. Opt for the chrome-plated gages because they will last for a long time.
Related posts
Recent Posts
Challenges and Considerations in Implementing Generative AI
While Generative AI offers numerous benefits, implementing it in manufacturing is not without challenges. One significant hurdle is the need for substantial data to train AI models effectively. Manufacturers must have access to high-quality, relevant data to ensure that AI systems can deliver accurate and…


